Sorry no videos but I have pictures that look quite accurate. I also give thanks to James for having the pictures to use in the first place!

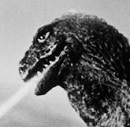
Didn't mess with my standard method...Just lucky that the black BG allowed for nice glows. (which I didn't create)

The light background didn't assist the glows at all....The beam was fine, but the fin glow suffered from a low inner glow.

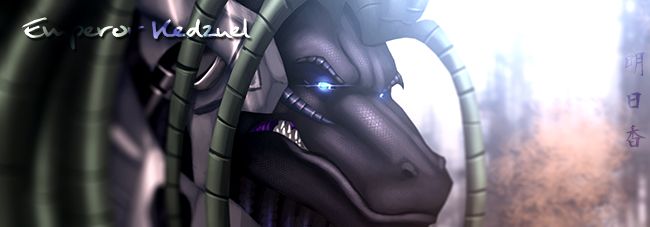
Similar situation to the 2nd picture, glows were much better, but the sky got smoky around the fins so I messed around with the channel mixer in photoshop to fix it...I got pretty nice results!
__________________________________________
Anyway, here's how I did it. (Method was originally created for making lightsabers)
1. Create a new "screen" layer in Photoshop with Neutral color, black.
2. For beams simply draw out your area on a new standard layer with the polygonal selection tool at a 2-3 feather...Make sure the color you fill the selection with is white.
3. Duplicate this drawing three times, giving you four of the actual white beams.
4. Gaussian Blur each COPIED beam layer (not the original) at 10-30, depending on the shot, and your taste.
5. Merge down each beam layer, and the screen layer from the beginning
6. Go to The Color Balance menu, and you have to (most likely) shift all bars (excluding shadows in most cases) to the blue tones...Also you may want to add a TOUCH of cyan to it.
7. Voila!
As for the Dorsal Fins...
1. Follow steps 1, 3, 4, 5, and 6... With these modifications.
2. After you make the screen layer, DO NOT draw something new, but go back to the original picture layer and select the dorsal fin area; (going down the whole spine) you don't need to perfectly select every ridge, but don't just make a straight line down!
3. Copy this selection onto its own layer and treat that as the "drawing."
4. Copy that "drawing" three times and I recommend using Gaussian Blur @ 20 on ALL layers. (once again, up to you, but it seems to work well)
5. Merge down and apply Color Balance settings.....You'll want to mess around with the highlights on the cyan colors a bit.
6. If the inner glows are not strong enough, go to the channel mixer and go to greens..... Mess around with some of the settings, preferably the reds and blues, under the green channel. Try and not ruin the blue hue, but get as strong highlights as you can.
7. If it stressed a little, go to Hue/Saturation, and fix up the hue on the spine glow.
8. Voila!
That's It! How do they look?!

.jpg)


